

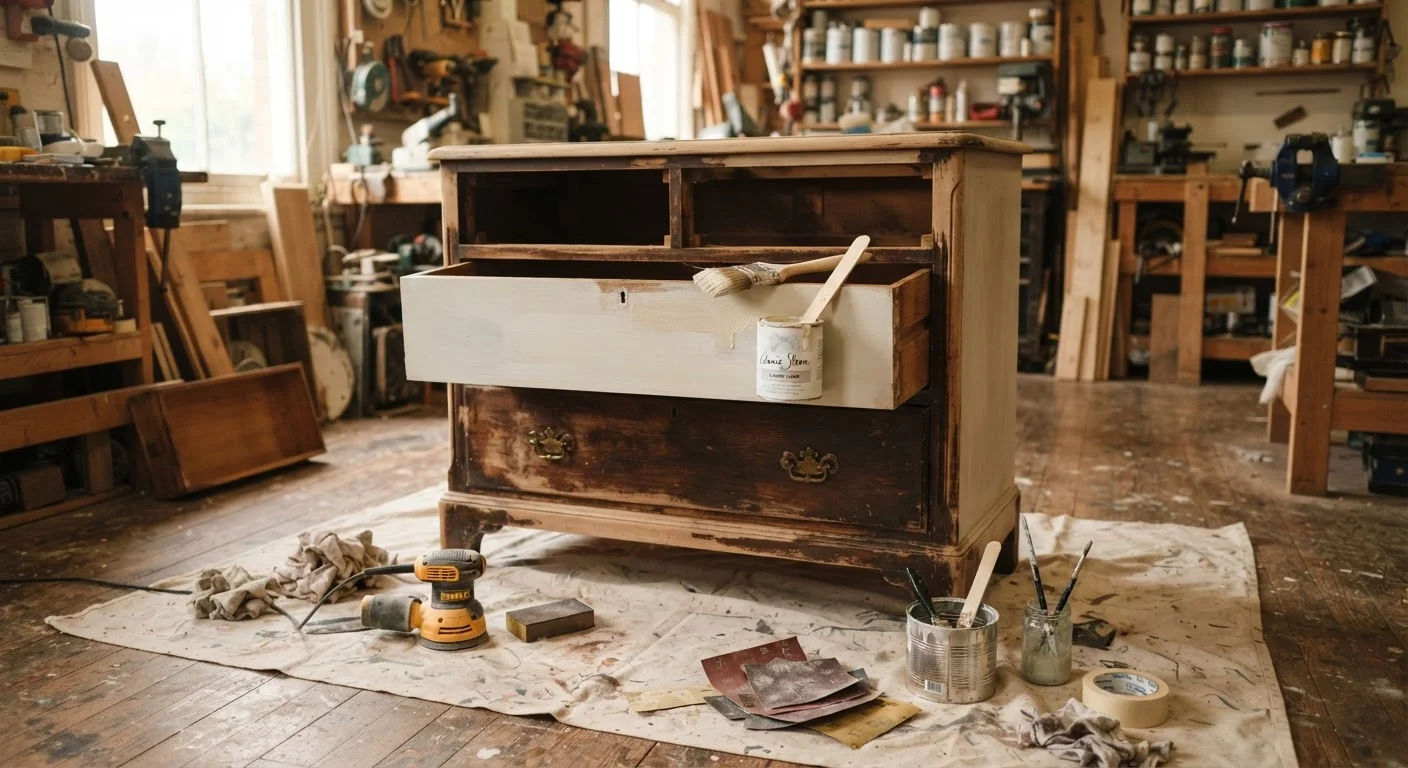
Why thrift store furniture refreshes so often disappoint
Secondhand furniture is one of the most practical ways to furnish a home without spending heavily. A solid wood dresser or side table from a thrift store can cost a fraction of its new equivalent, and a good refresh can make it genuinely attractive. But a lot of these projects end up looking worse than expected, or fall apart within months.
The problems are rarely about skill. They come from a handful of predictable missteps that most people make because they want to get to the satisfying part fast. Understanding where things go wrong makes the difference between a piece that lasts and one that gets donated back.
For a broader look at making limited home improvement budgets work harder, see this guide to stretching a small home improvement budget.
Skipping structural assessment before starting cosmetic work.
Why it happens: The excitement of a visual transformation makes it easy to overlook wobbles, loose joints, or soft spots that only become obvious once the piece is in use.
Not cleaning the surface before applying any new finish.
Why it happens: Used furniture looks clean after a wipe-down, but thrift store pieces often carry wax polish, silicone sprays, cooking grease, or years of handling oils that are invisible and prevent adhesion.
Painting over an incompatible existing finish without testing first.
Why it happens: People assume any paint will stick to any surface, especially after sanding, but latex paint over oil-based varnish without a bonding primer will peel within weeks.
Using the wrong topcoat for how the piece will actually be used.
Why it happens: Many tutorials focus on color and technique but do not address durability requirements, so people apply decorative wax to a coffee table or a light spray sealer to a piece that will see daily wear.
Buying a piece that is too damaged or the wrong material to refinish affordably.
Why it happens: Enthusiasm for a shape or price point can make it easy to overlook laminate that is bubbling, particle board that has swollen from water damage, or veneer that is lifting beyond repair.
Rushing drying and curing times between coats.
Why it happens: Paint looks and feels dry to the touch within an hour, but it has not cured. Putting a second coat on too soon, or putting the piece into use before it has fully hardened, leads to smearing, denting, and peeling.
Getting the prep and finish right
Most of the mistakes above share a root cause: rushing past preparation to get to the visual transformation. Paint and finish do not hide flaws on used furniture the way they might on fresh MDF. Old surfaces have oils, wax residue, prior coatings, and sometimes mold or pest damage that all affect how new products adhere and cure.
Before any sanding or painting begins, clean the piece with a degreaser or a diluted TSP (trisodium phosphate) substitute. Let it dry fully, which can take 24 hours depending on humidity. Then assess the existing finish: chalk paint can sometimes go over lightly scuffed surfaces, but oil-based paints and varnishes generally need a bonding primer or a thorough sand to 120 to 150 grit. Doing a small test patch on an inconspicuous area takes about 30 minutes and tells you a great deal about how the piece will respond.
The same attention applies to topcoats. A dining table or entryway piece gets daily contact and needs a durable topcoat, such as polyurethane or a water-based polycrylic. A decorative shelf with light use can get away with wax. Choosing the wrong one shortens the life of all the work that came before it.
If you enjoy low-cost home transformation projects, the same principles around prep and patience apply to wall treatments. Accent wall ideas on a low budget covers affordable techniques that also reward careful surface preparation.
Older furniture and lead paint risk
Furniture made before 1978 may have layers of lead-based paint. Sanding this paint releases hazardous dust. Before sanding any older piece, use an inexpensive lead test kit available at most hardware stores. If the result is positive, consult your local health department or a certified renovation professional for safe handling guidance. Do not sand lead paint without proper respiratory protection and containment.
The content provided on our blog site traverses numerous categories, offering readers valuable and practical information. Readers can use the editorial team’s research and data to gain more insights into their topics of interest. However, they are requested not to treat the articles as conclusive. The website team cannot be held responsible for differences in data or inaccuracies found across other platforms. Please also note that the site might also miss out on various schemes and offers available that the readers may find more beneficial than the ones we cover.